A sticky controller button can ruin a perfectly good gaming session. If your B button (or any face button) feels slow to pop back up, sticks when pressed, or sometimes doesn’t register, the problem is usually simple: residue or grime around the button.
The good news is that in most cases you can fix it in a few minutes without replacing the controller.
Below is a practical walkthrough based on a real repair where a sticky B button was fixed using basic household supplies.
What Causes Sticky Buttons
Face buttons on modern controllers sit inside tight plastic wells and press down on a rubber membrane underneath. Over time small amounts of debris work their way inside:
- skin oils from hands
- dust and dirt
- snack residue or sugary drinks
- dried cleaning fluids
Even a thin film of residue can cause the button to drag against the plastic housing.
A quick alcohol cleaning often frees the button immediately, but if residue remains underneath the button cap it can return a day or two later.
Tools You’ll Need
Most sticky buttons can be fixed with just two items:
- isopropyl (rubbing) alcohol
- cotton swabs or paper towel
Optional tools for deeper cleaning:
- compressed air
- Torx T8 security screwdriver
- plastic pry tool or guitar pick
Step 1: Turn Off the Controller
Before cleaning, power the controller off and disconnect it from the console or PC.
This prevents accidental inputs and protects the electronics while you clean.
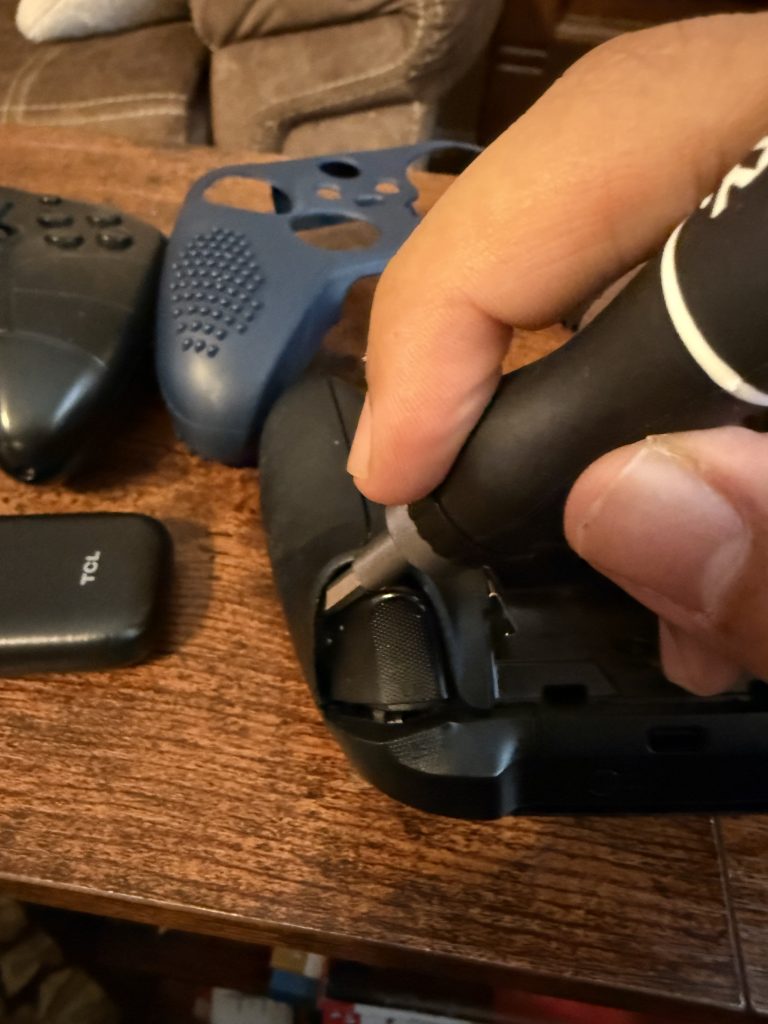
Step 2: Clean Around the Button
Lightly dampen a cotton swab with rubbing alcohol.
Press the sticky button repeatedly while wiping around the edge of the button. The goal is to let a small amount of alcohol seep into the narrow gap between the button and the housing.
Continue pressing the button rapidly for about 20–30 seconds.
The alcohol dissolves oils and evaporates quickly, which helps restore smooth movement.
Many sticky buttons are fixed immediately with this step.
Step 3: Flush the Button Well
If the button improves but becomes sticky again later, residue is likely trapped under the button cap.
To flush it out:
- Apply a small amount of alcohol around the button edge.
- Rapidly press the button multiple times.
- Tilt the controller so gravity helps the liquid carry debris outward.
You can also use compressed air around the button while pressing it to help clear particles.
Step 4: Test the Button
Once the alcohol dries (usually under a minute), press the button repeatedly and confirm that it moves freely and rebounds normally.
If the button feels smooth again, the repair is complete.
When Cleaning Isn’t Enough
If the stickiness returns repeatedly, the residue is likely sitting directly on the rubber button membrane inside the controller.
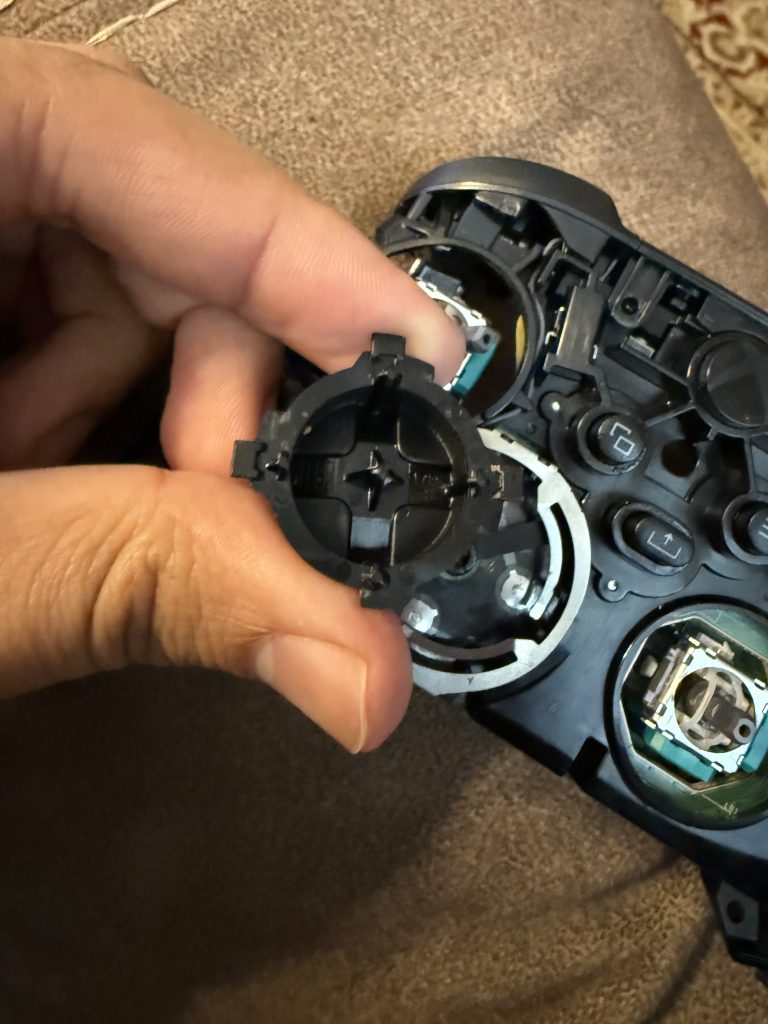
In that case, the permanent fix is opening the controller and cleaning the internal parts.
Xbox controllers are designed to come apart easily:
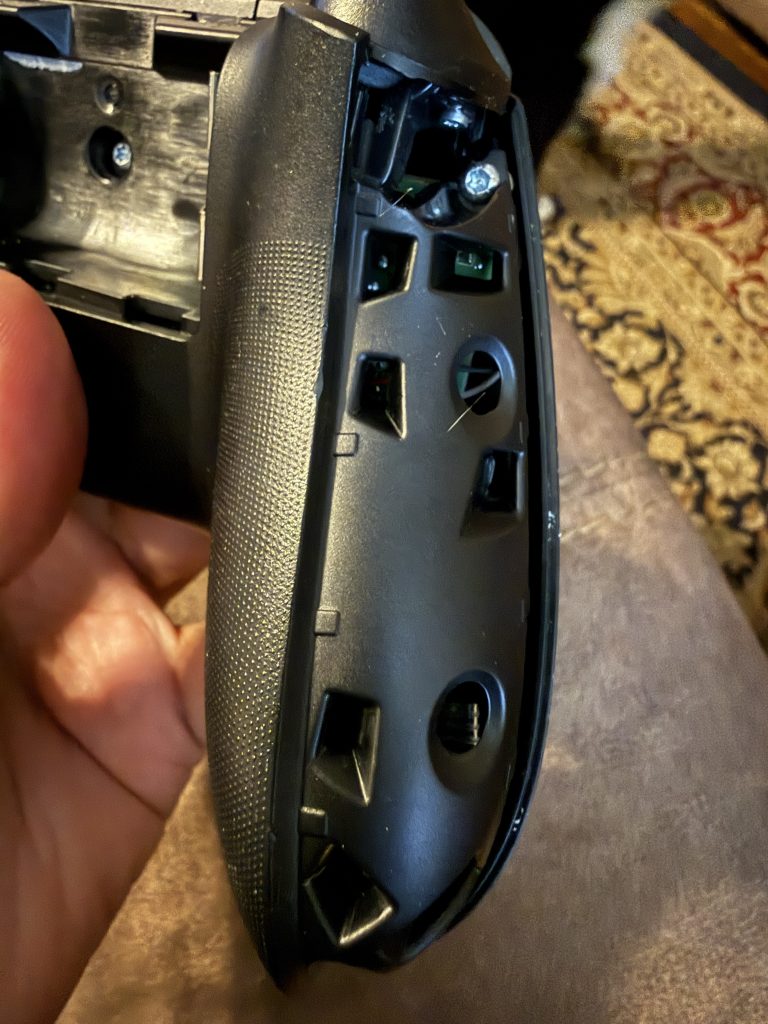
- Remove the side grips.
- Unscrew the five Torx T8 screws.
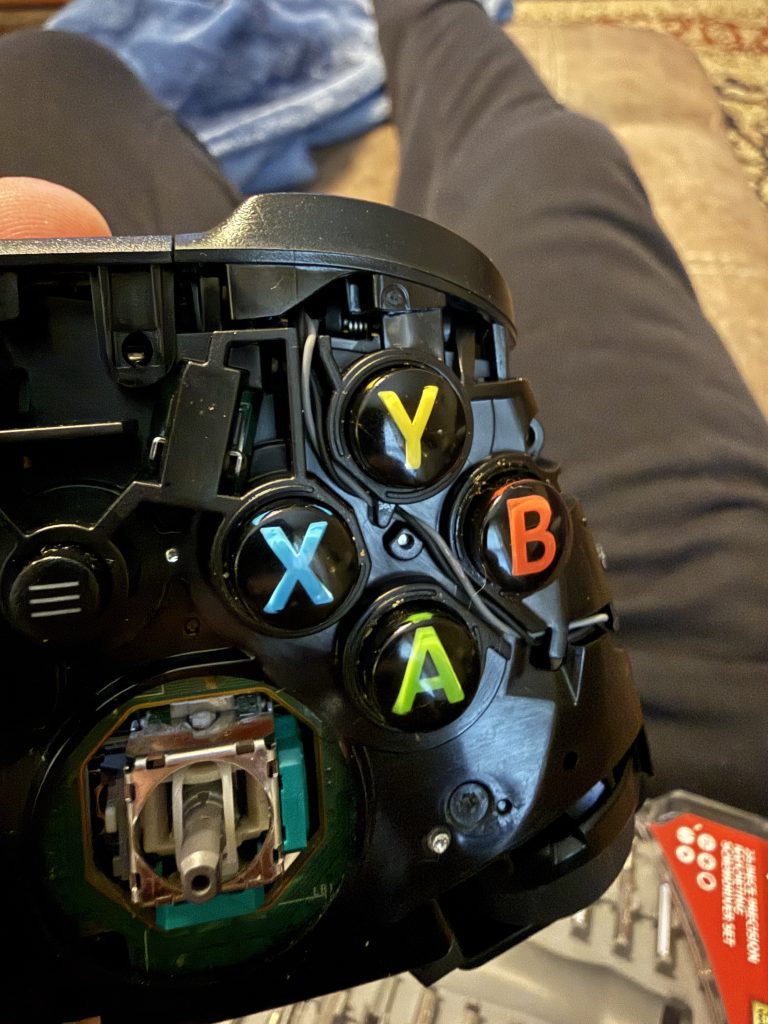
- Lift off the front shell.
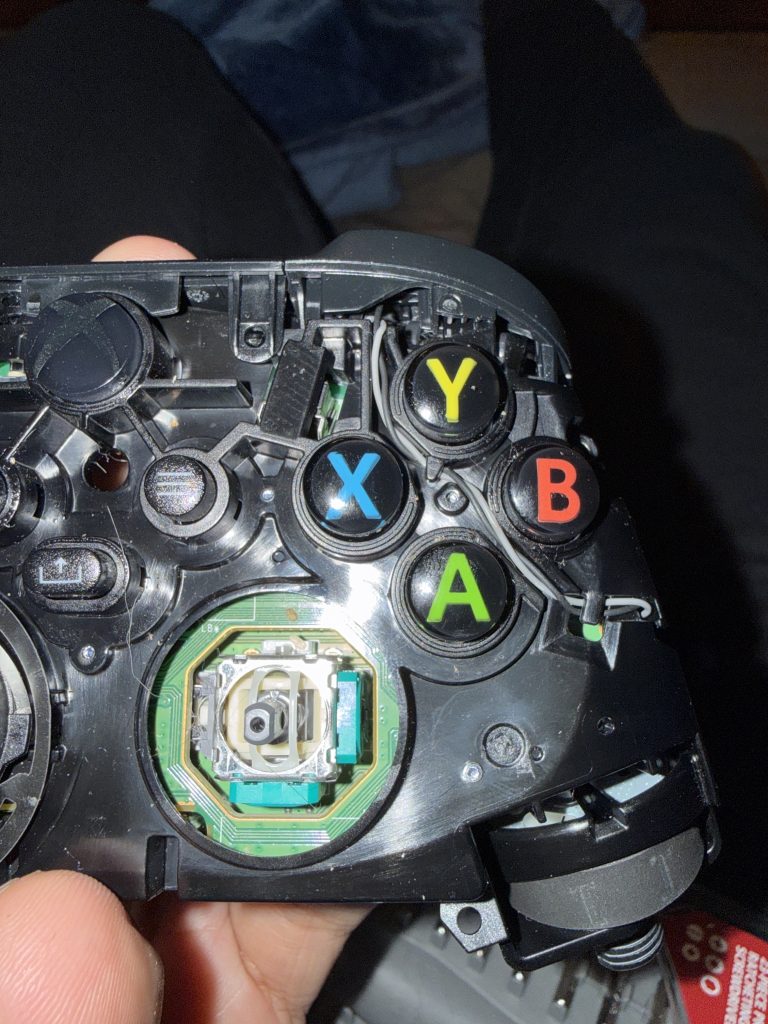
- Remove the button and rubber membrane.
- Wipe both parts clean with alcohol.
- Reassemble.
Once the membrane and button are wiped clean, the issue is almost always permanently resolved.
Preventing Sticky Buttons
A few simple habits help prevent the issue from returning:
- Wash hands before gaming
- Avoid sugary drinks near controllers
- Wipe the controller occasionally with a microfiber cloth
- Store controllers in a clean location
Small particles and oils build up slowly, so occasional cleaning keeps buttons moving freely.
Final Thoughts
Most controller problems that seem like hardware failures are actually just dirt and residue. The button mechanism inside a controller is very simple and extremely reliable when clean.
A quick alcohol cleaning often restores normal function in under a minute—and can save you from replacing an otherwise perfectly good controller.